


PS skirting
PRODUCT DESCRIPTION


PRODUCT FEATURES
- Lightweight: Being crafted from polystyrene – a lightweight material – simplifies the installation process.
- Effortless Installation: Polystyrene baseboards are typically easy to cut and fit, with installation often done via glue or nails to secure them to the wall.
- Sturdiness: These baseboards offer sufficient durability to hold up against regular daily use and minor wear and tear.
- Simple Upkeep: Their smooth surface makes polystyrene baseboards easy to clean and maintain; a quick wipe with a damp cloth is all that’s needed.
- Budget-Friendly: Compared to alternatives, polystyrene baseboards are generally more economical. - Decorative Value: PS skirting enhances a room’s visual appeal, complementing the decorative styles of both walls and flooring.


MOLD DESPLAY


SK003
SK007


SK006
SK008


SK005
SK009


SK014
SK015

Application
Home decoration: It can be installed in areas such as the living room, bedroom, kitchen and bathroom
Commercial places: hotels, restaurants, offices, shopping malls, etc.
Public Spaces: hospitals, schools, libraries, etc.


INSTALLATION
Installation model 1:Gluing

Apply Nail free glue equally to the notch of the skirting board.
Clean the wall surface, make sure it flat before you place the skirting board to the wall press tightly until it stick the wall.
Use nailer to nail it when necessary. Cover the nail head with lacquer putty or color pen.
Installation model 2:Installation buckle

Cut a small piece piece skirting board (around 20cm), fix the installation buckle with skirting board as the picture.
Mark the place for nail fixing 40cm is a suitable interval for two buckles.The interval should be narrowed accordingly around the skirting board joint place.
Mark the place for nail fixing 40cm is a suitable interval for two buckles.The interval should be narrowed accordingly around the skirting board joint place.

In order to make sure the install -ation buckle is on the right place, please use two nails to fix it. Please refer to above picture for the nails place.
To fix the installation buckles on the wall in proper sequence, same as the picture.
Press the skirting board to the installation buckles in proper sequence and fixes it properly.
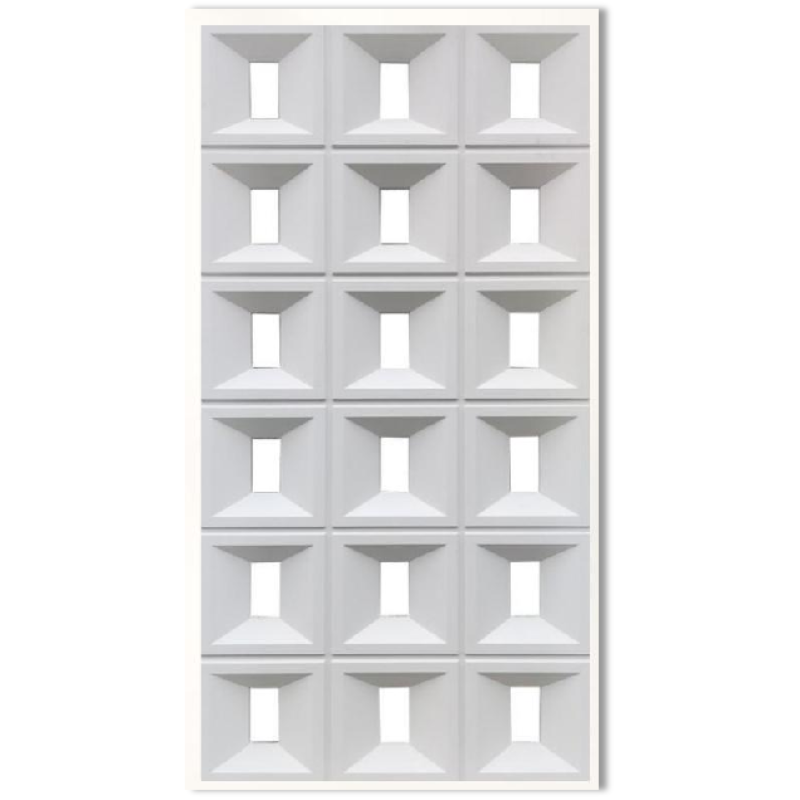
You May Need
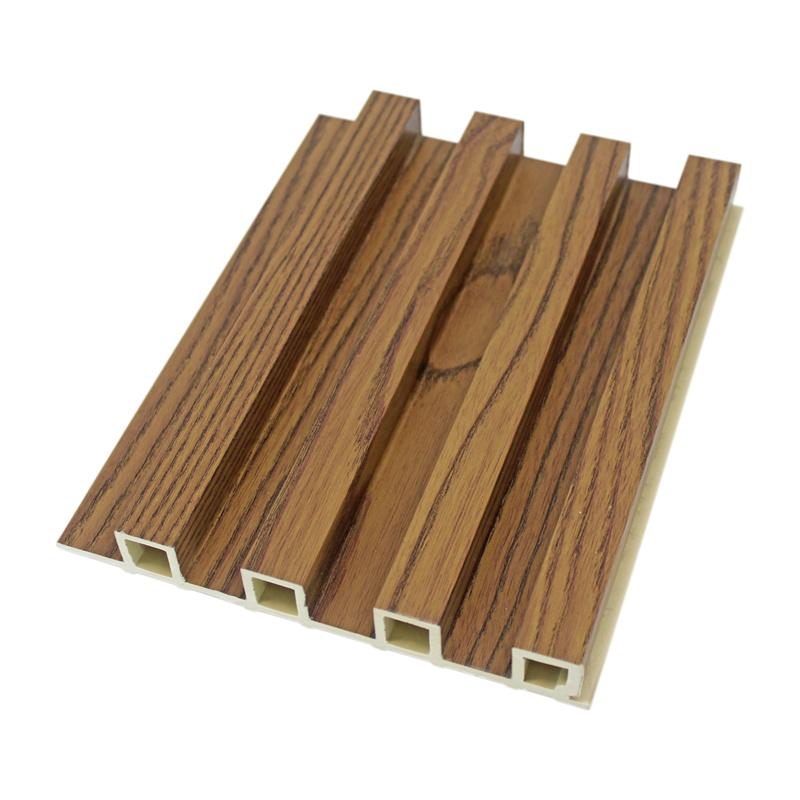

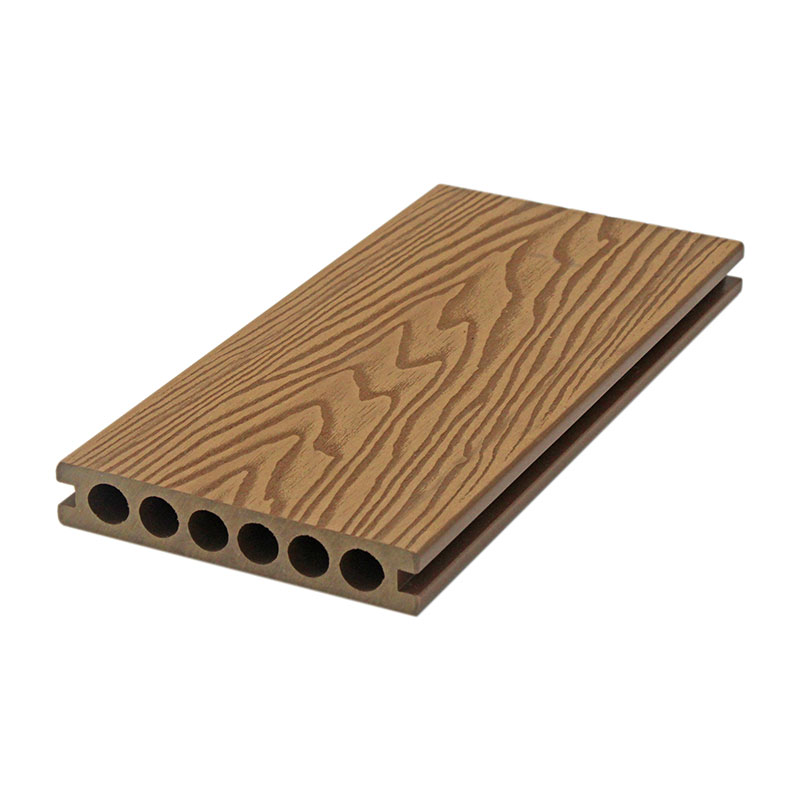

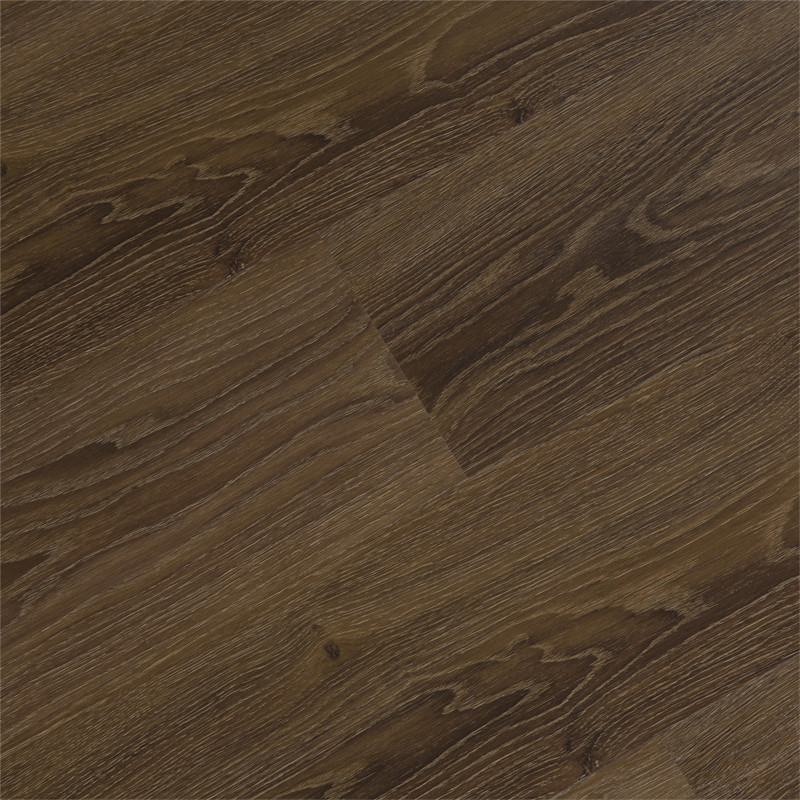

Hot Selling


Send Us A Message
Get Price And Free Samples Right Now!
-

Phone
-

E-mail
-

WhatsApp
Send Us A Message
Get Price And Free Samples Right Now!